
Chapter 29 Dress it up!

In this section, we cover optional ways to make your bookdown site look ✨faaaabulous ✨. The features we cover below do not require knowing CSS nor HTML, and they’re all built-in things you can add to your bookdown now. There are a lot of different options here, and you certainly don’t have to implement all of them. Take an à la carte approach and pick the stuff you like!
We’ll need to use the three different bookdown YAML files to turn on these features. And sometimes, we don’t even need a YAML file and any old .Rmd doc will do. Here’s a cheatsheet of what file is in charge of what (including features we may have already covered earlier that we link to):
_output.yml
- Add an edit link
- Make the page downloadable as an
.Rmd - Link to your GitHub in the toolbar, Part 1 (also need
index.Rmd) - Add other sharing links
- Header and footer of your TOC
- Collapse the TOC by (sub)section
- Code highlighting
_bookdown.yml
- Change the chapter name
- Change chapter order
- Set
new_session: yes - Set
output_dir: docs
index.Rmd
- Link to your GitHub in the toolbar, Part 2 (also need
_output.yml) - Add a favicon
- Book cover and description
Within any .Rmd
- Group chapters into Parts
- Add an appendix
- Section (un)numbering
29.1 Before you begin
- Open up all three YAMLS and keep them open as tabs in RStudio. We’ll be bouncing in between these files:
_output.yml_bookdown.ymlindex.Rmd
Remove output types we don’t need: from
_output.yml. All of our cookbook content will only deal with thegitbookoutput from here on out. This means you can get rid of this part of the YAML in_output.yml:
We’ll fill out our YAML options one line at a time and show you what the growing YAMLs look like as we go.
29.2 Organizing
- Collapse TOC by (sub)sections
- Change the chapter name
- Section (un)numbering
- Group chapters into parts
- Add an appendix
29.2.1 Collapse TOC by (sub)sections
We can control whether our TOC will show all sections or subsections by default. If you have very deep heading and section hierarchies, then you might want to play around with this option. You can read more about it in the bookdown documentation.
- Open
_output.yml Add
collapse: sectionas atoc:option.
29.2.2 Change the chapter name
The chapter_name: option is what determines whether your level one headers will say “Chapter 1” or “Section 1” or “Module 1”—whatever prefix you’d like. In our example demo book, we’ll leave this as "Chapter ", but if you wanted to change it, you would do this:
- Open
_bookdown.yml. Replace
"Chapter "with your prefix of choice. Don’t forget the space after the name within the quotes.
29.2.3 Section (un)numbering
By default bookdown numbers all of your headings. If you don’t like this, then you have to un-number them manually. Within any .Rmd you can do this if you:
- Add an
{-}after each heading you want unnumbered. - If your section has an ID within brackets already, just add the
-in front, for example:
## My Section {-#section-id}We recommend keeping the numbering on for all of your chapters, except for the headings in your index.Rmd, which you should use as your preface or introduction.
Let’s remove numbering for the initial chapter of our minimal book, to make it clear it’s a preface:
- Open
index.Rmd. - Change the level one header to be
# Prerequisites {-} - Save and build your book.
- Notice that once you do, the numbering of all the following sections is automatically adjusted.
29.2.4 Group chapters into parts
If you have a bunch of chapters, it can be helpful to group some of them together (e.g., by semester, quarter, or content themes). You can create a book part within any .Rmd file by adding the following at the top of any .Rmd:
# (PART) My Part Title {-}If you don’t want your part to be numbered with a Roman numeral, then you must instead write:
# (PART\*) My Part Title {-}Let’s create two unnumbered parts for our demo book:
- Open the
01-intro.Rmdfile. - Add
# (PART\*) First Semester {-}as the first line. - Open
04-methods.Rmdfile. - Add
# (PART\*) Second Semester {-}as the first line.
29.2.5 Appendix
Similar to “Parts”, you can create an appendix for your book with a header like:
# (APPENDIX) Appendix {-}Any level one headers that come after this will be appendix chapters and will be “numbered” with letters. See more here.
Let’s create an appendix for our demo book by making a new .Rmd.
- In the IDE, create a fresh
.Rmdby going to File > New File > R Markdown. - Delete everything in this file.
- Add your appendix header at the top of the
.Rmd:# (APPENDIX) Appendix {-} Optionally, some appendix chapters and content, like so:
# (APPENDIX) Appendix {-} # Appendix A Here is the first appendix chapter. # Appendix B Here is the second appendix chapter.- Save this file in your project directory as
appendix.Rmd. You can choose a different name. Open
_bookdown.ymland add this new appendix.Rmdto the end of your list of.Rmdsfiles.
29.3 Aesthetics
- Header and footer of the TOC
- Code highlighting
29.4 Edits and source code
- Solicit edits via GitHub
- See the
.Rmdsource code
Let’s add an edit icon the toolbar so that it’s easier for collaborators to give feedback and suggestions. When they click it, it will invite them to make changes on GitHub to the current book page.
- Open
_output.yml. Create
edit:,link:, andtext: fields like you see below:bookdown::gitbook: highlight: tango css: style.css config: edit: link: https://github.com/username/repository/edit/master/%s text: "Suggest an edit" toc: collapse: section before: | <li><a href="./">Demo Book</a></li> after: | <li><a href="https://github.com/rstudio/bookdown" target="blank">Published with bookdown</a></li> download: ["pdf", "epub"]- Replace the parts of the URL that say “username” and “respository” with your own.
- Make sure the URL ends with
/edit/master/%s. Add a message to the
text:field. Something like"suggest an edit". This is what your user will see when they hover over the Edit link in the toolbar.
Save, build, and see that your edit icon works!
29.5 Polishing and sharing
- Sharing to Twitter, etc.
- Directing to GitHub
- Favicon
- Book cover and description
29.5.1 Twitter and GitHub
When you turn sharing on, it’s easier for people to give your book a shoutout on twitter or find their way to your repo. This is good! We suggest using only these sharing icons and disabling the rest with all: no. Setting github: yes here is just one of the steps you need for the GitHub link to work. You also have to add your GitHub account and repo name to the index.Rmd YAML as we described above.
- Open
_output.yml. - Add a
sharing:field. - Set
github: yes,facebook: no,twitter: yes,all: no.- Mind your indentation (remember, YAMLS are fussy!)
bookdown::gitbook: highlight: tango css: style.css config: toc: collapse: section before: | <li><a href="./">Demo Book</a></li> after: | <li><a href="https://github.com/rstudio/bookdown" target="blank">Published with bookdown</a></li> download: ["rmd"] edit: link: https://github.com/username/repository/edit/master/%s text: "Suggest an edit" sharing: github: yes facebook: no twitter: yes all: no- The Twitter icon is now set–but we’re only halfway there to get the GitHub icon to work.
- Open
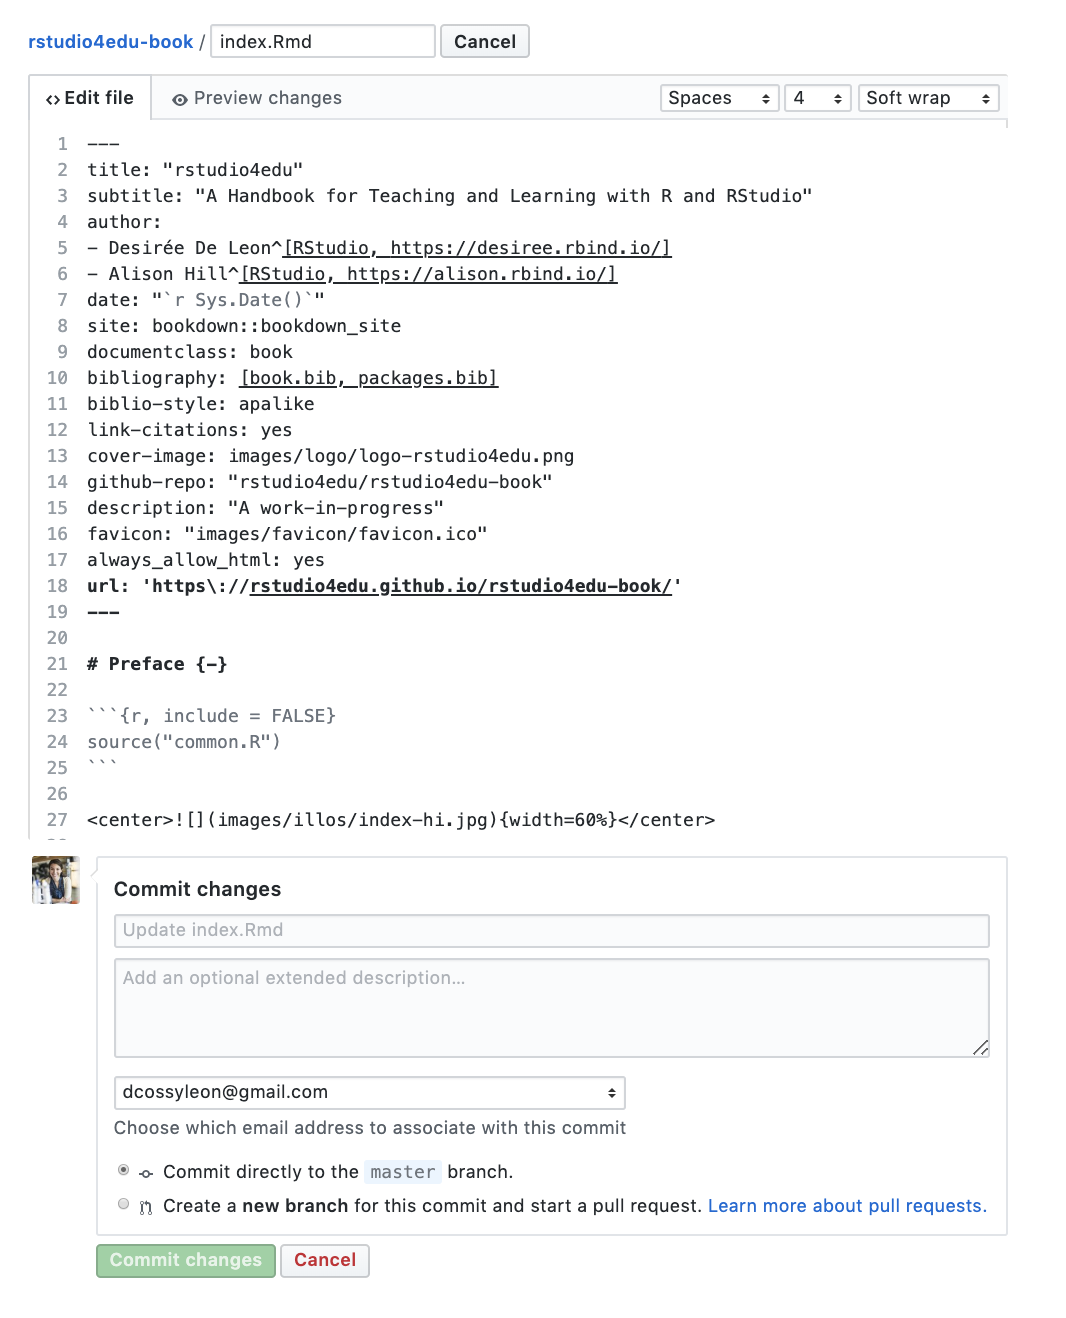
index.Rmd. Add the field
github-repo:followed by your"username/repo".--- title: A Minimal Book Example author: Yihui Xie date: '`r Sys.Date()`' site: bookdown::bookdown_site documentclass: book bibliography: - book.bib - packages.bib link-citations: true biblio-style: apalike description: This is a minimal example of using the bookdown package to write a book. The output format for this example is bookdown::gitbook. github-repo: your-github/your-repo ---
Now, the GitHub icon will go to your book’s repo.
Next, we’ll move on to other polishing bits involved in sharing your book.
29.5.2 Add a favicon
You know the little tiny icon that gets placed in the corner of your browser tab? That’s a favicon! It’s also the icon that shows up when you’ve bookmarked a page. Let’s add one:
- Create a folder called
imagesin your project directory. You don’t technically have to create this folder, but you will thank us later as you add more images to your book. - Save the image you’d like to use (for best results it should be square) in
images/.- Don’t have an image? Make one in less than a minute with text or an emoji:
- Go to free favicon generator and create a favicon
- Download and move the
.icofile into yourimages/.
- Don’t have an image? Make one in less than a minute with text or an emoji:
- Open
index.Rmd. Add
favicon: <"images/favicon.ico">in the YAML, replacing the filepath in quotes with your own.--- title: A Minimal Book Example author: Yihui Xie date: '`r Sys.Date()`' site: bookdown::bookdown_site documentclass: book bibliography: - book.bib - packages.bib link-citations: true biblio-style: apalike description: This is a minimal example of using the bookdown package to write a book. The output format for this example is bookdown::gitbook. favicon: images/favicon.ico cover-image: images/logo-black.png github-repo: your-github/your-repo url: https://github.com/dcossyleon/fake_book ---
Note: In the example above, we can use ICO files (with the .ico extension) which are preferred because of better rendering across most browsers, but other images types like PNGs work too.
29.5.3 Book cover and description
Finally, we’ll change what happens what happens when we share preview links of our book.
cover-image:This lets you set an image that will act as your book’s cover. This will show up when we share a link of our book.description:This is the short blurb that will also be part of the preview when your share the link of your book.
Let’s update our index.Rmd with the following:
Update the description of our demo book to say “A work in progress.”
Add a cover image by adding a path to our logo (or a url to any image–you can always try one of these if you need a placeholder).
Now is also a good time to update your
TitleandAuthorfields if you haven’t already.--- title: Demo Book author: - Desiree De Leon - Alison Hill date: '`r Sys.Date()`' site: bookdown::bookdown_site documentclass: book bibliography: - book.bib - packages.bib link-citations: true biblio-style: apalike description: This is a minimal example of using the bookdown package to write a book. The output format for this example is bookdown::gitbook. favicon: images/favicon.ico cover-image: images/logo-black.png github-repo: your-github/your-repo url: https://dcossyleon.github.io/fake_book/ ---
The formatting for url is really important, and weird:
- You must use a forward slash
\before the colon to “escape” it. - The
urlmust end with a back slash/in order for thecover-imageto render.
Alright, we’ve done all we can here with bookdown’s built-in options. Time to checkout the options in Make it fancy if you’re still wanting more!