Dress it up!

Many of the customizations you can add to a regular .Rmd site, you can also use in a Distill site in the same way–by specifying them in the _site.yml file (unless otherwise noted) as an option underneath output: We don’t cover these options again here, but you can see which ones apply in the list below and learn more about them by clicking on the links.
Layout features common to Rmd sites and Distill
* While you can of course always add more white space between sections in Distill, we think its default spacing is actually pretty good already.
You can’t always get what you want: Note that Distill does not give you the option to use a floating TOC, change color themes, use code_download nor code_folding as you can in a regular .Rmd site. Another weird thing worth pointing out is that the only way to get a TOC on the index.Rmd page is to specify one globally within the _site.yml. It cannot be added individually to the index page alone (but it can be to other Distill pages).
But–it gets better! Distill never leaves the house without looking classy, and the features below make that easy.
Site sections
Appendix
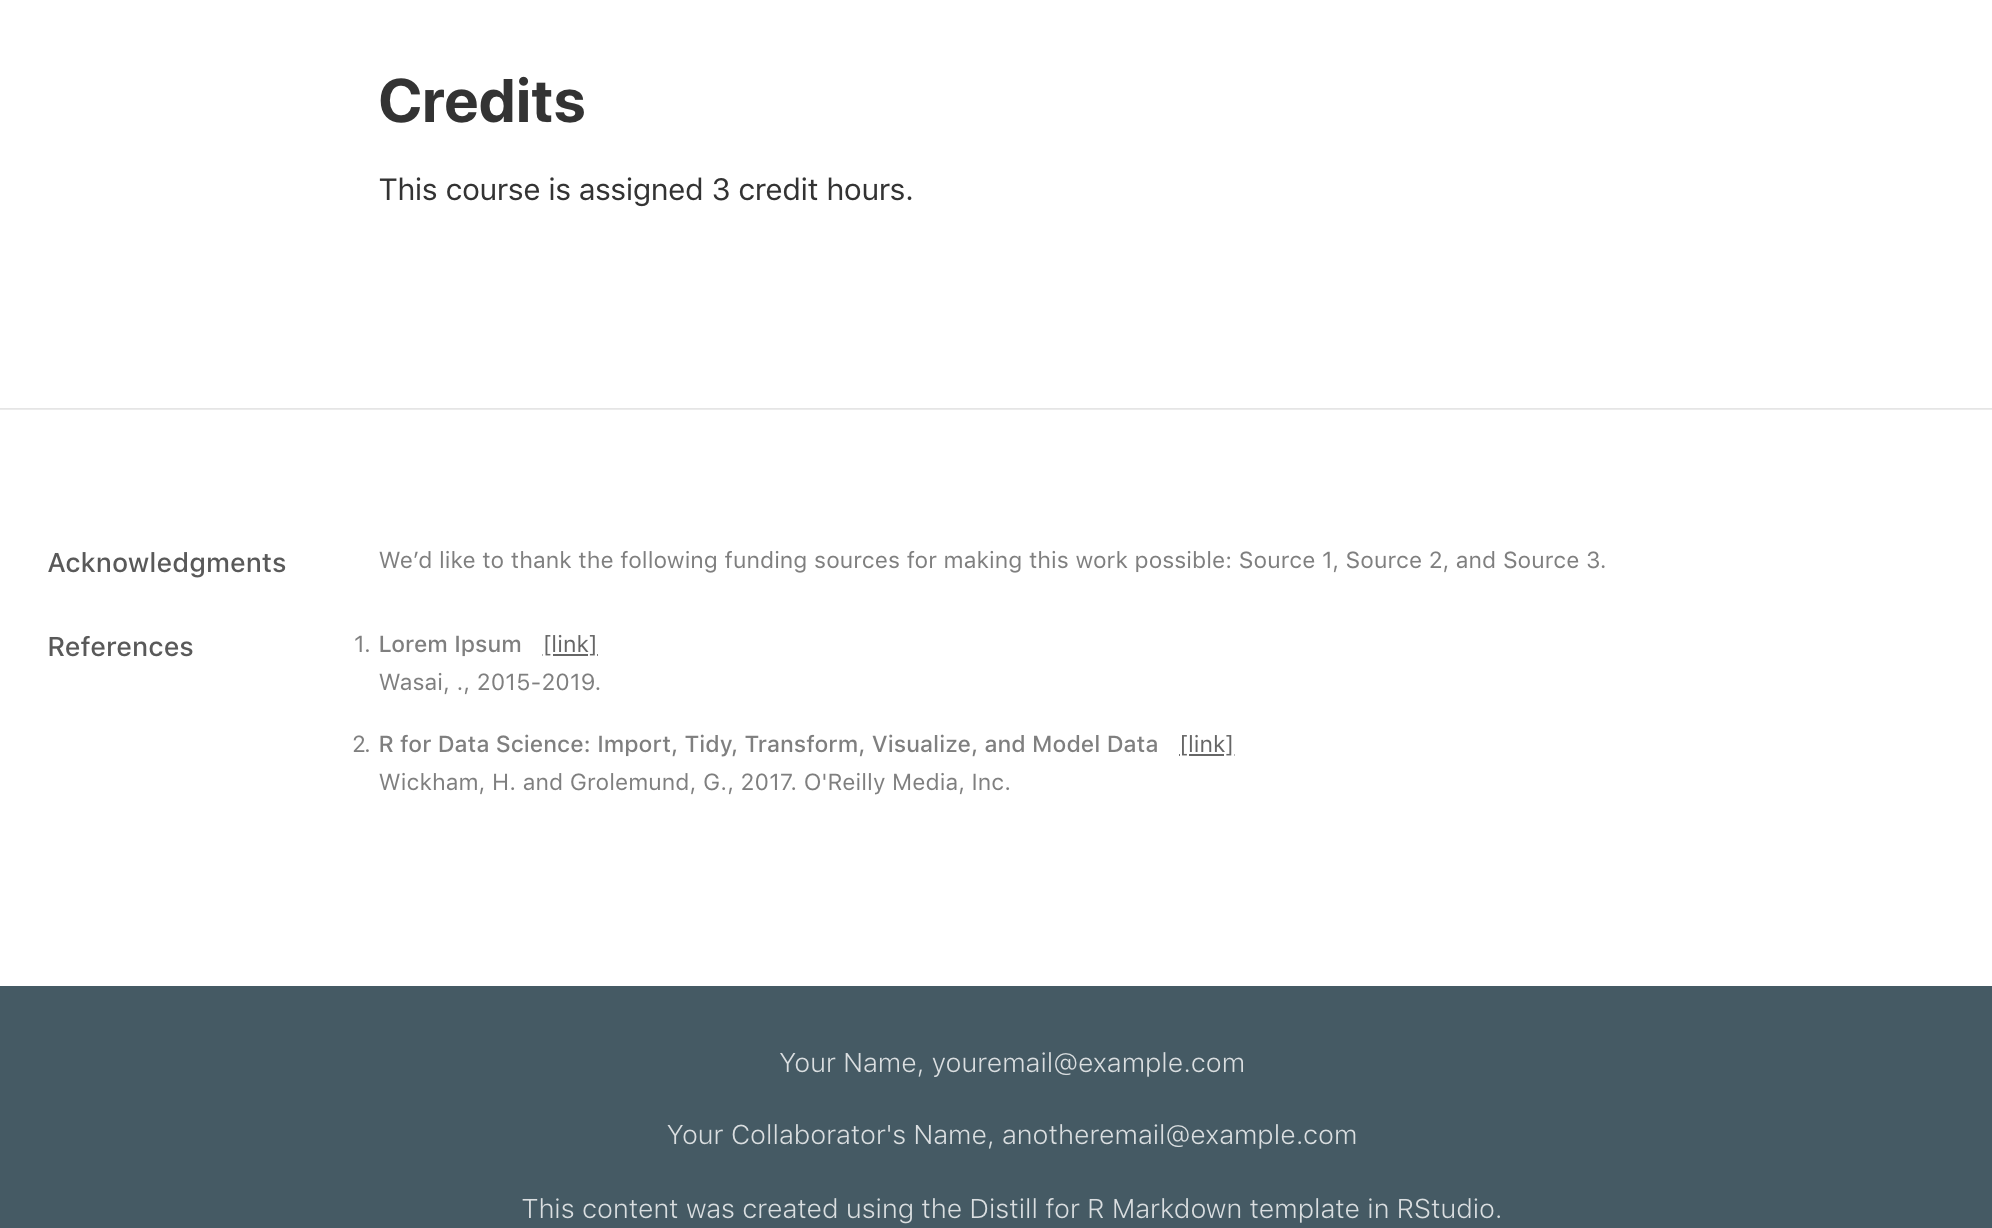
Turn any content in your .Rmd into an appendix by creating a new level 1 or 2 header followed by {.appendix} Distill page. Any content that follows will be automatically added to the end of your page, alongside the footnotes and the reference list.
# Acknowledgments {.appendix}

We'd like to thank the following funding sources for making this work possible:
Source 1, Source 2, and Source 3.

Sharing
Reuse and licencing
Licensing! It sounds dry and lawyer-y, but don’t pass this up. Picking and posting your license is an important part of sharing content you create with others. By having a linked statement that explains what license and permissions you give to others, you can (hopefully) prevent the stomach-sinking feeling of seeing your hardwork being used across the internet without credit or attribution to you.
Disill makes this easy-peasy by building in a creative_commons: line in your YAML, and it will automatically add a statement to the appendix of your site that lets others know how they can use your materials. In the example below, we add this to the _site.yml file.
Not sure what your options are for licensing? Check out the resource here.
name: "basic-course-distill"
title: "Demo Website"
description: |
  A site for a course
output_dir: "docs"
creative_commons: CC BY
navbar:
  right:
    - text: "Home"
      href: index.html
    - text: "Lectures"
      href: about.html
output: distill::distill_article
Preview images
Preview images are what you see when you share links of your site. You can choose the image that’s used for this a few different ways that are described in detail here.
Logo
We can also add a logo to our site, which will appear on the left side of the navbar.
- Save the logo you want to use in your project directory. You don’t have to, but we recommend keeping a subfolder called
images/ where you can place all image files for your site.
- Open your
_site.yml file.
- Add a
logo: field underneath the navbar options in the _site.yml file.
- Enter the file path to the logo on the
image: line.
- If you want your logo to link to a website, enter the link address on the
href: line.
Here’s an example in the _site.yml file:
Favicon
You know the little tiny icon on the left side of most of your your browser tabs? That’s a favicon, and here’s how you include one:
- Save the image you want to use in your project directory (or in an
images/ folder). For best results this image should be square. Don’t have an image? Make a favicon with text or an emoji, and then download and move the .ico file into your project directory.
- Open your
_site.yml file.
- Add
favicon: <insert-path-to-favicon.ico>.
name: "basic-course-distill"
title: "Demo Website"
description: |
  A site for a course
output_dir: "docs"
creative_commons: CC BY
favicon: images/favicon.ico
Note: In the example above, we can use a ICO image file (with the .ico extension), but other image file types are fine. ICO files do a better job of rendering efficiently across most browsers, so default to this if you can.
Google analytics
You can also add an option to your YAML for including a google analytics tracking ID to your site, and the instructions are detailed in the Distill documentation.
Getting edits
If you want to solicit edits and feedback from others, then you can add You can also add the fields base_url:, twitter:,


