
Introduction
R Markdown is a powerful tool that seems relatively simple when you first start using R: you focus mainly on your words (written in Markdown) and your code (written in R), which seem basic enough! But…then you start trying to use R Markdown to create educational content that will be consumed by learners.
It is easy to become overwhelmed by the number of knobs you can turn. You may even feel like you are stumbling upon hidden knobs and secret passages that you wish you had known about earlier (or at least, we did).
Our aim in this section is to give you some of the tools and vocabulary for using R Markdown as an educator. There are a number of tips and tricks that can improve “quality of life” when working with R Markdown, both for yourself and for your learners. And we will share some of our favorite “bells and whistles” that can improve the accessibility of the lessons you make.
In the following chapters, we distinguish content from presentation, i.e., what is delivered is distinct from how it will be delivered. We called this more general section “R Markdown Lessons”, but our advice will focus on helping you use R Markdown to create different types of effective lessons, like:
- how-tos (a step-by-step recipe for a specific problem; light on narrative and teaching “why”)
- floating TOC (numbered?)
- code download
- download the data
- tutorials (a narrative that helps learners build a mental model + exercises to strengthen that mental model)
- add to this, code folding?
- bootstrap q/a boxes
- explanations (a tutorial, but without exercises)
- worked examples (like a case study; exercises may be implicit or non-existent)
- worksheets (a fill-in-the-blank template with a specific structure + prompts for the learner to fill in; none to minimal narrative)
You could deliver any of these, or a combination of these, via any of the following delivery methods:
- workshops
- in-class labs
- books
- talks/lectures
- blog posts
- handouts
- vignettes
We will leave the lesson design and the determination of the delivery method up to you as the educator. As Greg Wilson writes in “Teaching Tech Together”:
“You may give your learners both written lessons and some combination of recorded video and self-paced exercises, but if you are going to teach in person you must offer something different from (and hopefully better than) either of them.”
–Greg Wilson
You can read more of Greg’s advice for teaching in person and teaching online.
Using R Markdown document templates, you can put together a streamlined static or interactive lesson for learners to engage with. You can follow along with this cookbook, or you can download the demo repositories modify as much as you’d like.
Make a document
You will build a bare-bones R Markdown document from a template and publish it. We make only the most minimal changes to content and style necessary to get you a shareable link.
Make it yours
You’ll personalize your document’s content here by adding your words, R code, and R output like plots to your lesson.
Caring for your document
You’ll develop a workflow for editing your document, adding bells and whistles, and improving your R Markdown quality of life.
Dress it up
Here, you’ll find instructions for no-fuss document customizations that leverage built-in features that do not rely on knowing, learning, or using CSS.
Make it fancier
In the final chapter, you’ll learn about document customizations that require some CSS and HTML.
What are we making?
R Markdown is …
](images/horst_rmd_rockstar.png)
Figure 4.1: Artwork by Allison Horst
We’re about to take a single R Markdown file, knit an .html version, and publish that file online to a shareable website.
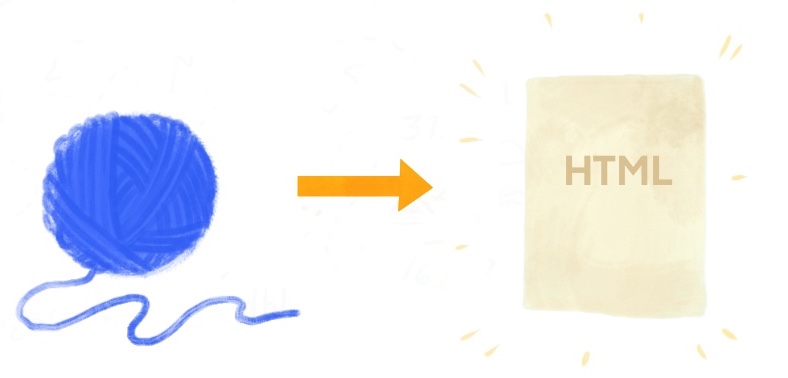
The R Markdown package has a number of built-in “output formats”, which means that a single .Rmd document can be “knit” into a bunch of different output file types like HTML, PDF, and even Word documents.
For educators, we strongly encourage using the default HTML output format for four reasons:
Shareability- HTML output can be easily shared with links, especially if you are using GitHub.
Flexibility- .Rmd files output to HTML can be organized easily into larger educational projects using R Markdown extension packages like
bookdownandblogdown(see later chapters).Styleability- Each R Markdown output format has its own output styling options. The options for the HTML output format are by far the most fully featured and easily accessible, relying on no additional software installation.
Customizability- All HTML output can be further customized using CSS. The bad news is that you will need to learn a bit about CSS to get there (see our crash course), but the good news is that if you are the kind of educator that needs to, for example, use a specific branded style guide that specifies colors, fonts, etc., you can make your HTML output look “on brand” with a custom CSS.
We’ll deploy the single document to GitHub Pages. The rest of our cookbooks focus on websites built from collections of R Markdown documents, but for this cookbook, we’ll create one R Markdown document and publish it.
But first, a little inspiration. All of the below documents were made with R Markdown, knitted to the HTML output format and published by these lovely authors so you can enjoy the lovely rendered versions with your eyeballs in your favorite internet browser:
How to explore and manipulate a dataset from the fivethirtyeight package in R
.RmdBioconductor for Everyone: Exploring, Analyzing, and Visualizing Large Data Sets with R
.RmdIntroduction to multilevel modeling using rstanarm: A tutorial for education researchers
.Rmd
doc_inspo <- tibble::tribble(
    ~html_url, ~html_label, ~rmd_url, ~site_url,
    # rstan tutorial
    "https://mc-stan.org/users/documentation/case-studies/tutorial_rstanarm.html",
    "Introduction to multilevel modeling using **rstanarm**: A tutorial for education researcher",
    "https://github.com/stan-dev/example-models/blob/master/education/tutorial_rstanarm/tutorial_rstanarm.Rmd",
    "https://mc-stan.org/users/documentation/case-studies.html"
)
##
## Attaching package: 'glue'## The following object is masked from 'package:dplyr':
##
## collapse##
## Attaching package: 'kableExtra'## The following object is masked from 'package:dplyr':
##
## group_rows| see_doc | show_doc | all_doc |
|---|---|---|
| Introduction to multilevel modeling using rstanarm: A tutorial for education researcher | 💻 | 🏠 |